Build your personalized container that adapts to your needs
Deploying ML models on Google Cloud’s model registry in order to get batch/online predictions is pretty straightforward. At least when it comes to TensorFlow and ScikitLearn. Pytorch got recently its own pre-build container, which was intended to solve the difficulties with deploying this kind of model on the cloud. In my experience, it didn’t solve that much of the problem and it didn’t provide enough flexibility to adapt to the needs of different models, inputs, and outputs. That’s why I decided to build my own.
You can find all the code used for this post on GitHub here [deploy-hugging-face-model-to-gcp]. For this example, we will work with the output-mt-es-en Pytorch Hugging face model developed by Helsinki-NLP. This model takes as input a text written in Spanish and outputs its translation to English.
Google Cloud’s prediction strategy
The way in which predictions are computed in online/batch predictions is by deploying a server open to HTTP requests. This server, when receiving the data as input, will compute the prediction and return it. In the case of PyTorch, the library I have used is TorchServe, which is the one also used by Google. This library allows running a server by simply receiving some configuration and a compiled version of the model (.mar extension).
TorchServe functionality
The way TorchServe works is the following. You first need to build a handler that adapts to your model (or use a pre-built one). This is a Python file that it contains all the logic to load the model and compute the prediction for the given input. This file contains a class that inherits from BaseHandler and a __init__ function that looks like the following:
Then, we need four functions that represent the real logic. Those are initialize , preprocess , inference , and postprocess .
initializeruns once when the server starts and it takes care of loading the model.
When you send a request to the server, the data will go to the next three functions and expects postprocess to return an ordered list with the outputs of each prediction sent.
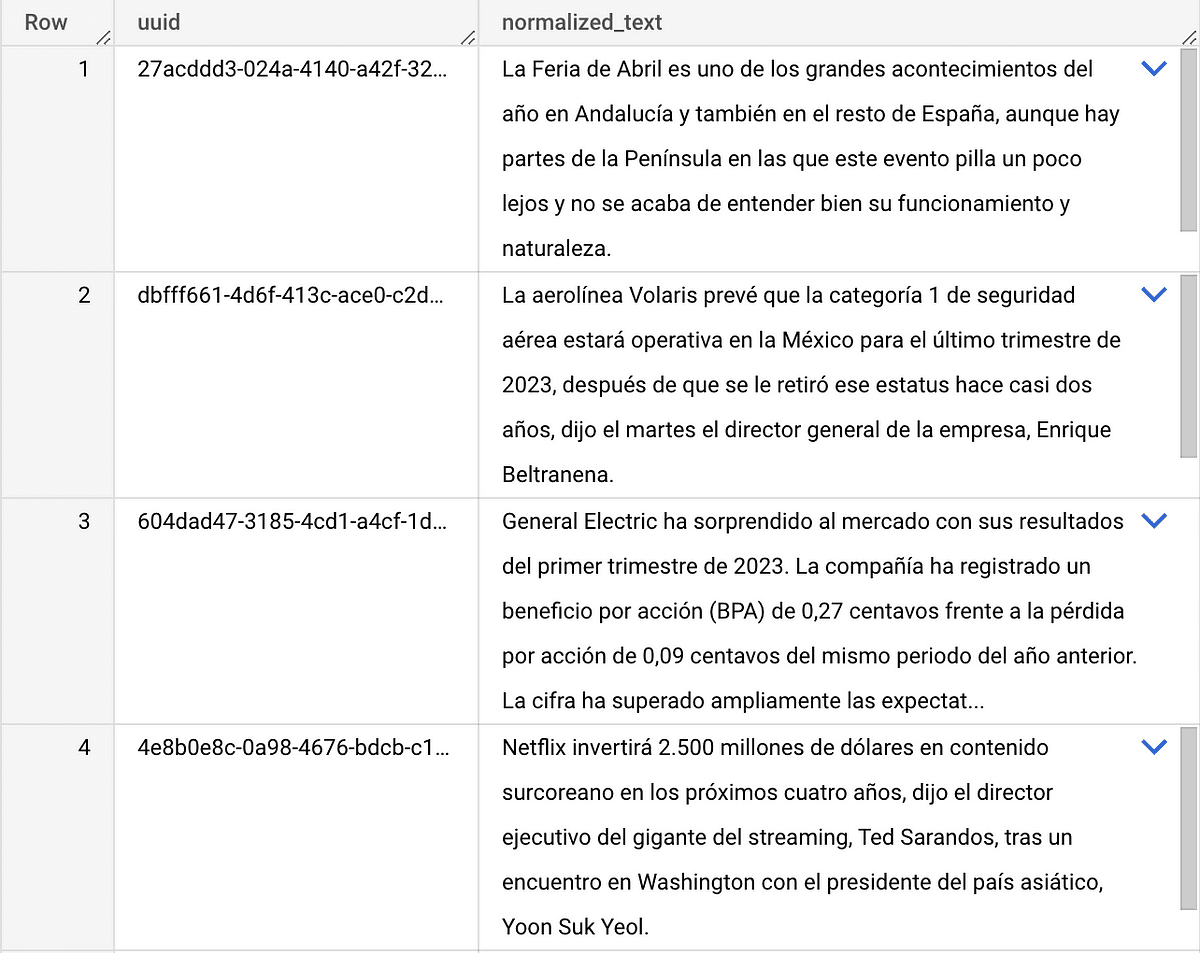
In our case, the preprocess function receives two values in a list, this is because in our later example, we will use a BigQuery table to predict with two columns, and the second one is the text we want to translate.
It’s likely you’ll need to adapt the handler with different configuration depending on the model you are using. My workflow was making sure that the functions worked and the output was correct by running the functions on a jupyter notebook.
Then you compile the model and the extra files with the torch-model-archiver library, as the following.
Then you can run the HTTP server with a command like the following (it won’t run locally since the configuration is stored in the image used to build the Dockerfile).
Required files
Therefore, in order to build a container with the model, we only need 2 files. A handler.py and a Dockerfile.
Step by Step instructions
Now that you understand what you need to build a model for the model registry, we will do a walkthrough of all the steps needed.
1. Download the Hugging Face model files
For this, you’ll need to download the files from Hugging Face, in our case, we downloaded them from here. All files are needed except tf_model.h5 because it’s the model itself in a different format, and we only need the pytorch_model.bin . In case there are more files that are marked as LFS in your model file directory, it is likely they are also the same model in a different format, which you don’t need to download. I recommend saving them in the following path ./models/your-model-name-lowercase/raw/your-files-here . This path is where the script will look for those files, it can be changed but you’ll need to change the path on the Dockerfile and the script that we will introduce later.
2. Upload the model to Google Cloud Storage (Optional)
This step is optional but recommended. The bucket name must be lowercase and it will be the same name as the model. This way we ensure that the script works properly. An example of this is creating a bucket called my-hugging-face-models and a folder called opus-mt-es-en , where we will store the files.
You only need to have the files locally for the pipeline to work, but in order to ensure reproducibility it is better to store them on a cloud storage bucket. The script we built will download the files from the bucket if they are not there already. By storing them on the path I wrote in the last section, you will avoid downloading them twice.
3. Create an artifact registry repository for the docker images
Here we will store the images of the Pytorch container. In order to do that just go to the Artifact Registry, select create repository, and select format: Docker. You can set the name you prefer for this repository.
4. Write your model.env file
These are the variables the script needs in order to build the image. You have an example on the repository on the file model_example.env .
5. Install dependencies
Is recommended that you create a virtual environment and then install the dependencies there.
6. Login and authentication
You’ll need to authenticate in google cloud to run the script that makes the whole thing. The second command will configure your docker configuration to upload the model to Google Cloud’s registry. If you created the artifact registry in a different region, update the second command to your own region. There is also the instruction to set this up if you go into the repository you created in the artifact registry under setup instructions.
7. You can finally run the script!
Everything is now set up for you to run the script. You can add more models comma-separated if you followed the same steps and they use the same handler. This is the case for other translation models such as opus-mt-de-en or opus-mt-nl-en .
In case the .mar file was already built but you changed the handler.py because you made a mistake, you can use the --overwrite_mar flag as the following.
Script walkthrough
The script consists of several steps, which will be run per model. First, we will download the model files if they still need to be downloaded. Then, we will build the .mar file. Then we will build the Dockerfileand push it to the registry. Finally, we will create the Vertex AI model stored in the Model Registry, which is what we need to make online/batch predictions.
The download part is pretty straightforward so we won’t go into much detail.
To create the .mar file we use the following code. The extra_files variable stores the relative path of all the files comma separated except the pytorch_model.bin , which is included in a different argument when compiling the model.
Then, we will build and push the image to the repository.
Finally, we create the model on the model registry. If the model already exists, we upload a new version instead.
Testing Locally
After building the image, you can test it locally by running the following command:
Then you can open another tab in the terminal and check that the model is working properly by running the following command. You can change the examples on the instances_example.json file to adapt to your model and use case.
Integration test
You can also run the integration test directly to ease the testing process. This can be done by first exporting your image name. And then running the docker-compose command.
Running a batch prediction job
In order to test the model, we run a batch prediction job with the following BigQuery table.

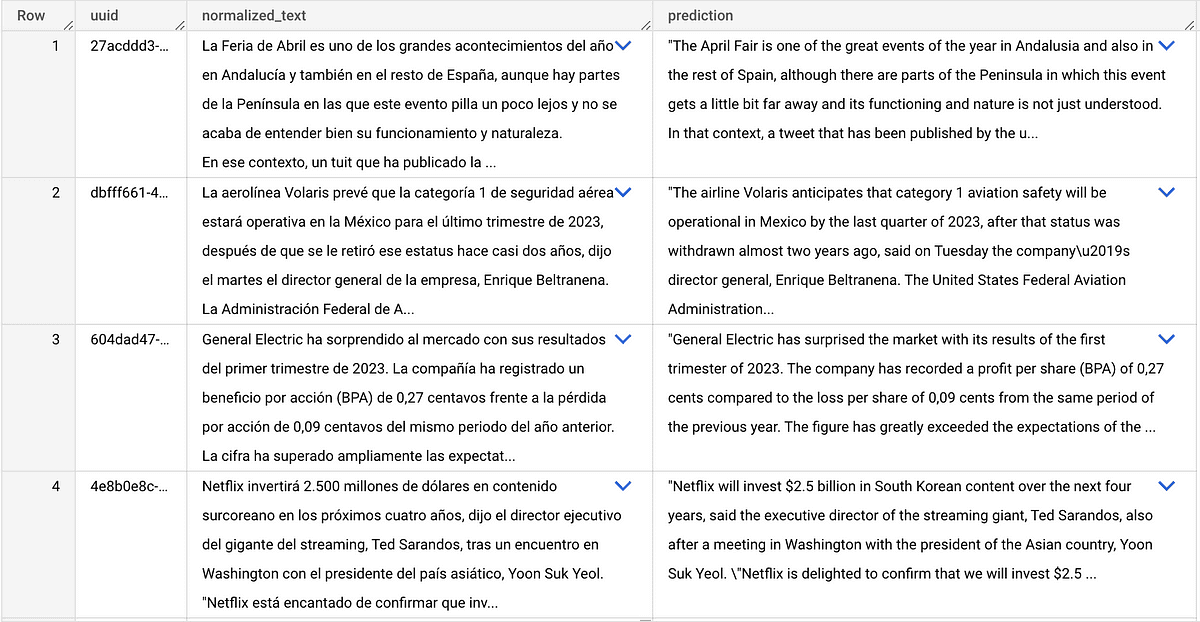
After about 30 minutes, we got the result, which is the copy of the original table plus the prediction text.

Extra topics
Even if the scripts do the job, for a production environment is recommended to have all that logic on a CI/CD pipeline. The integration test is meant for that environment before creating the model in the registry, to avoid uploading failing models. On the original integration, a CI/CD pipeline was created but for easiness of the post, I decided not to include it. However, if you are interested in that you can let me know and I could help you out or write another article supporting that topic.
On the Dockerfile , we have the following line. This makes the server only have one worker, which avoids parallelization. We have tried several configurations and setting a batch size of 1 with 1 worker worked the best. When having several workers, they sometimes failed which made it inefficient. In order to parallelize we increase the machine count on the batch prediction job.
RUN printf "\ndefault_workers_per_model=1" >> /home/model-server/config.properties
Thank you
If you are looking for support on Data Stack or Google Cloud solutions, feel free to reach out to us at sales@astrafy.io.


